


How to Tear Down the 9.7-inch iPad Pro for Screen Replacement
BY May | April 5th, 2016 | 0 | 1
The 9.7-inch iPad Pro was released with iPhone SE in March, 2016. Compared with last year’s iPad Pro 12.9, this 9.7 inches iPad Pro is smaller but almost comes with the same features. While comparing with the same size iPad Air 2, the iPad Pro 9.7 is more capable of use at work rather than household use.
Tools Needed:
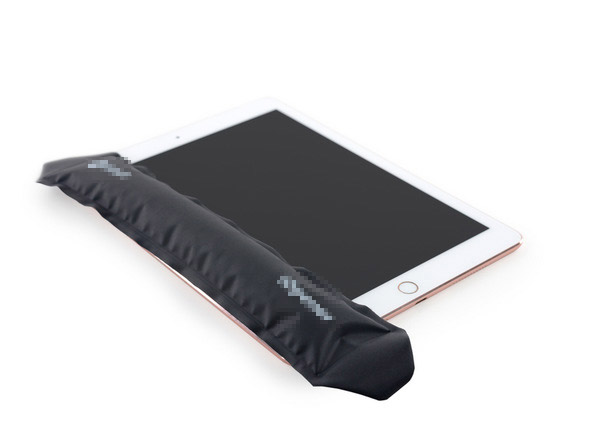
- 1. Heat up around the edges of 9.7-inch iPad Pro screen to soften the adhesive underneath.
- 2. Gently pull up the 9.7-inch iPad Pro LCD assembly, insert a guitar pick in the gap and run it along the edges. Be careful not to hurt the flex cable ribbons.


- 3. Undo the 3 screws, pry up the metal cover protecting the flex ribbon connectors. Then pry up to release the 9.7-inch iPad Pro LCD and digitizer assembly.

- 4. Undo the screws so as to release the EMI shield that covering the 9.7-inch iPad Pro motherboard.

- 5. Pry up in the position as shown in below to separate the battery contacts from motherboard, then pry up the shield covering the connection board of two battery cells.


- 6. Pop up the 4 screws securing the 9.7-inch iPad Pro loudspeaker module, gently lift it up, it's glued by strong adhesive and be careful not to damage the flex ribbons underneath.


- 7. Remove the 9.7-inch iPad Pro rear facing camera.


- 8. Release the 9.7-inch iPad Pro antenna cables.

- 9. Remove the 9.7-inch iPad Pro motherboard.

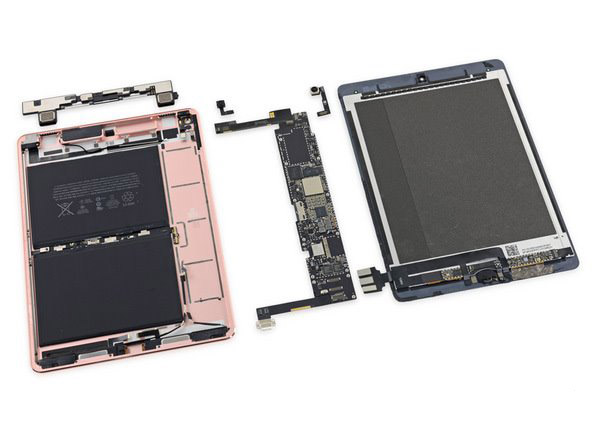
- 10. Now the 9.7-inch iPad Pro was successfully disassembled.

You may also want to know how to teardown the iPad Pro 12.9 or iPad Air 2, here we go:
12.9-inch iPad Pro Disassembly Tutorial:
iPad Air 2 Disassembly Tutorial:
You may also like:
- How to Replace the iPad Pro Home Button-Step by Step Guide
- How to Disassemble iPad Pro For Screen Replacement
- 3 Tips and Tricks for how to use your iPad 2018
|
|

|
|
|
|
|
|---|


RECOMMENDED PARTS
-
 For Apple iPhone 6 Battery Replacement - Grade S+
-
 For Apple iPhone 6S Battery Replacement - Grade S+
-
 For Samsung Galaxy S6 SM-G920/G920A/G920P/G920R4/G920T/G920F/G920V Battery Replacement - Grade S+
-
 For Samsung Galaxy S6 Edge+ SM-G928/G928A/G928P/G928V/G928T/G928F/G928R Battery Replacement - Grade S+
 IOS 17.4 official version pushed to block battery vulnerability
  Is the Chinese-made rear case for the iPhone 15 series going on the market?
  New products coming:USB to MFI Lightning Cable
  Big BUG of iPhone 15
  Successfully submitted!