


How to Replace Google Pixel XL Screen, Battery, and charging Port Flex Cable
BY kaye | October 22nd, 2016 | 0 | 5
Finally we got the tear down for one of Google’s new high-end phones --- the Google Pixel XL, this tear down work provides us some tips in how to replace screen replacement, battery, charging port flex cable, cameras or other small components inside. So without any further ado, let’s get started!
 Then we need to apply some heat to the screen surface so we can remove the screen smoothly.

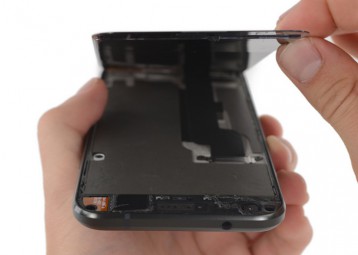 With the help of suction cup and guitar pick, we can pry up the screen assembly to a small gap and then slide along the screen edges to loosen the screen.

 Note: you need to pry up the screen from the bottom cause there’s the screen flex cable covering by the metal cover and 2 T5screws need to be removed first.
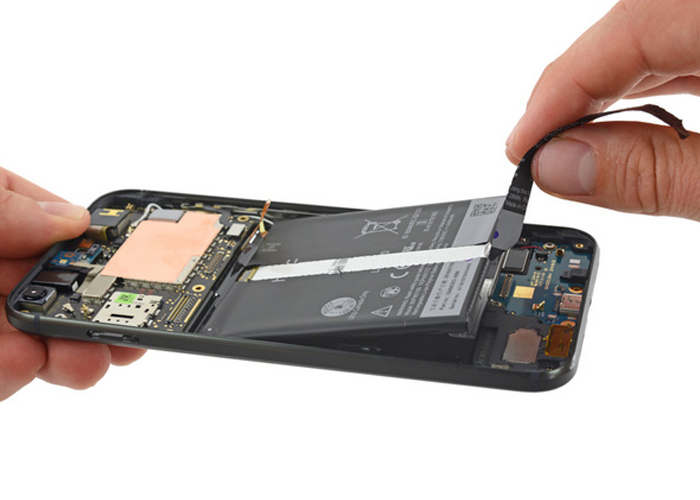
 Now we can remove battery, disconnect the battery connector and then pull off the battery tab you can remove battery easily.
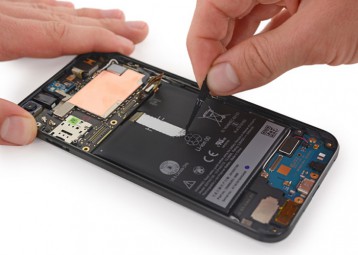
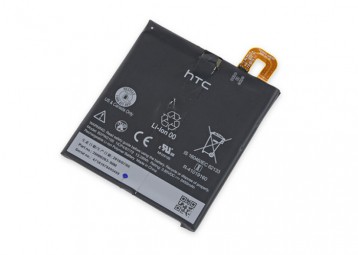
 So this is the 3450 mAh battery.
 Then headphone jack, front facing camera.
 Now, take out the motherboard, be careful with the flex cable underneath.
 Here we got another small board comes with the microphone and rangefinder.
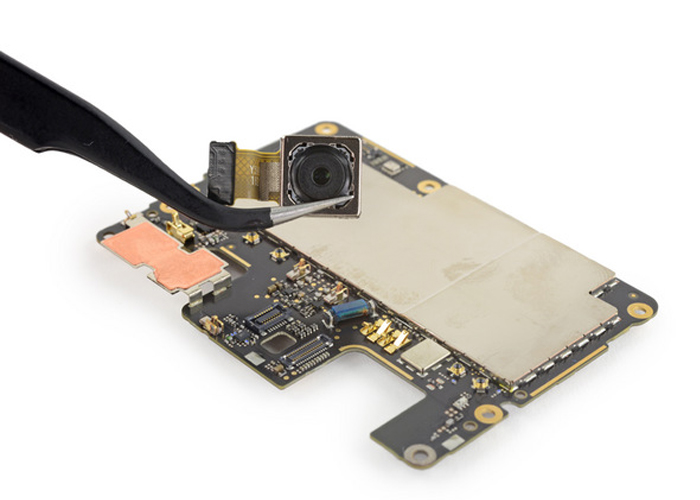
 We can remove the rear camera by the way.

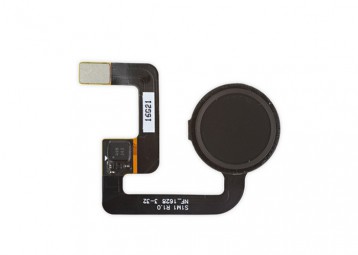
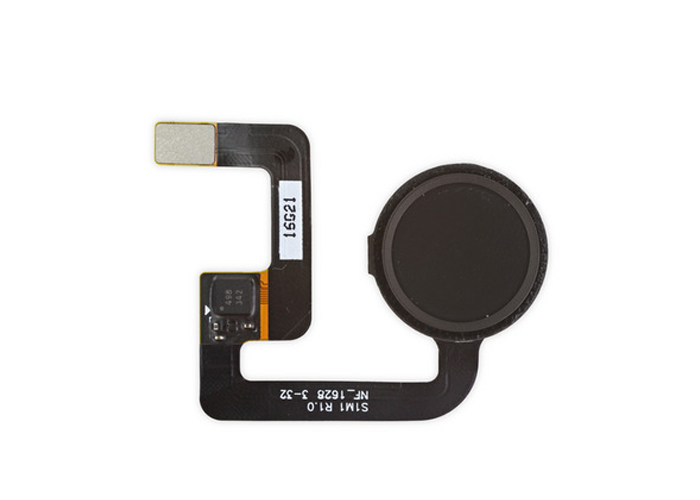
 Now just leave the fingerprint sensor flex cable to be released.
With your forefinger gently pushing, the fingerprint sensor flex is not difficult to take out.
Now just leave the fingerprint sensor flex cable to be released.
With your forefinger gently pushing, the fingerprint sensor flex is not difficult to take out.

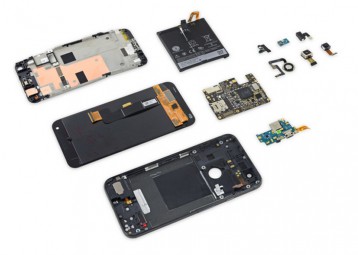
 So this is the whole teardown for the Google Pixel XL, not so hard for us to tear it down, everything inside can be taken out smoothly once the screen was removed.
 Any thoughts about this phone designed entirely by Google? Welcome and share with us!
These repair tools are needed:
- Heat gun or hair dryer
- T5 Torx Screwdriver
- Suction Cup
- Guitar Pick
- Tweezers
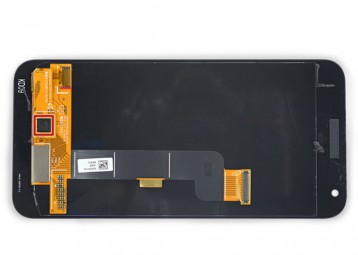
Step 1 Remove Screen Assembly
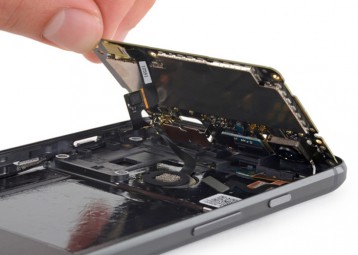
Before any disassembly work started, we need to always power off the phone and remove SIM card tray. This phone is just like iPhone’s brother. Then we need to apply some heat to the screen surface so we can remove the screen smoothly.
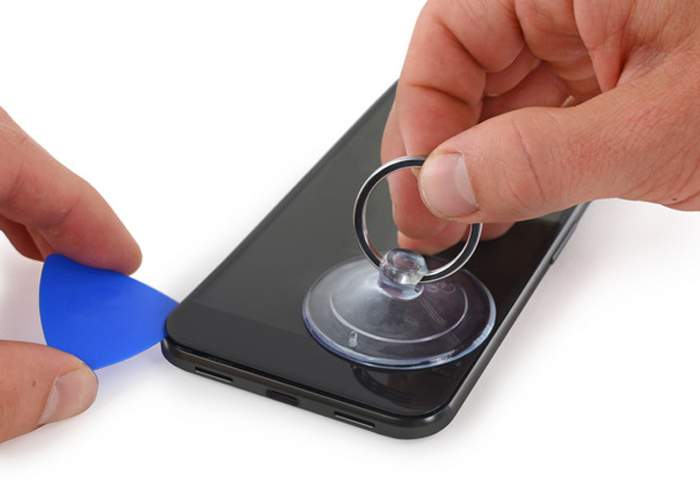
 With the help of suction cup and guitar pick, we can pry up the screen assembly to a small gap and then slide along the screen edges to loosen the screen.
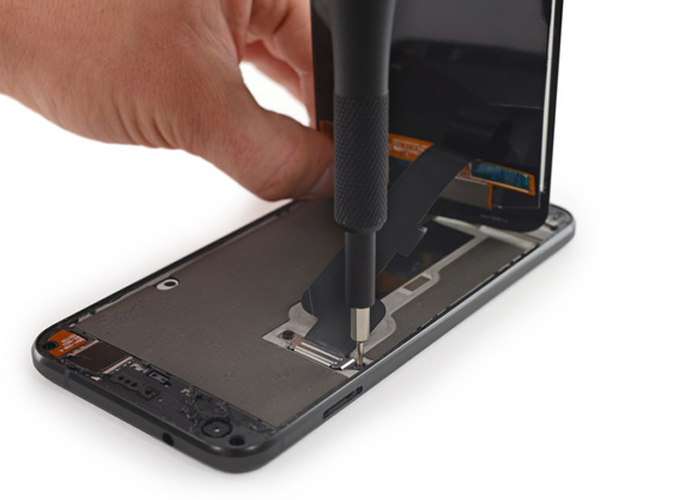
 Note: you need to pry up the screen from the bottom cause there’s the screen flex cable covering by the metal cover and 2 T5screws need to be removed first.
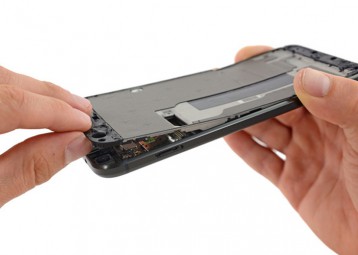
Step 2 Remove Battery
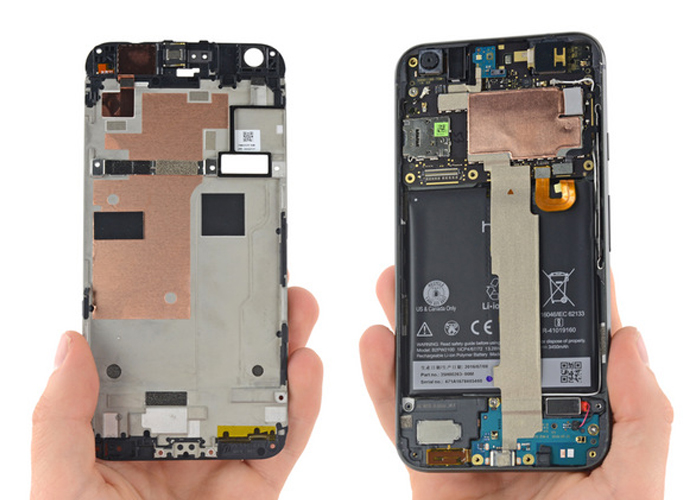
Next thing we need to do is take out the flexible mid frame, which is secured by snug notches that makes the removal more laborious.
 Now we can remove battery, disconnect the battery connector and then pull off the battery tab you can remove battery easily.
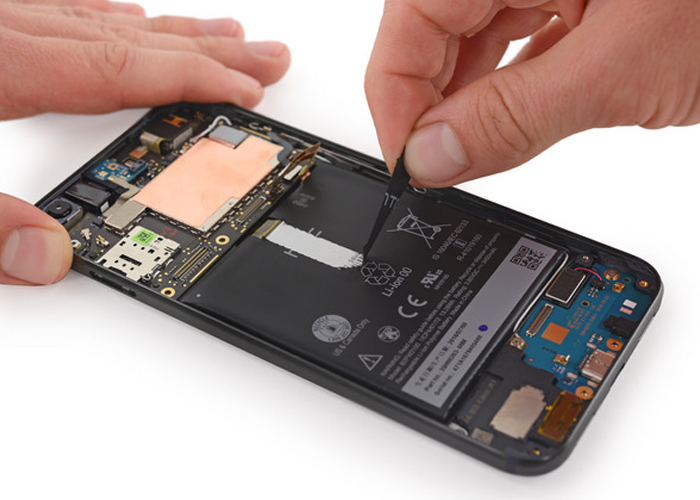
 So this is the 3450 mAh battery.

Step 3 Remove Cameras, Headphone jack and Motherboard
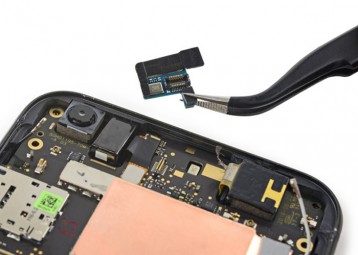
Back to the middle housing assembly, we remove the small component first, which likes a board with a status LED, light sensor and a microphone in it. Then headphone jack, front facing camera.

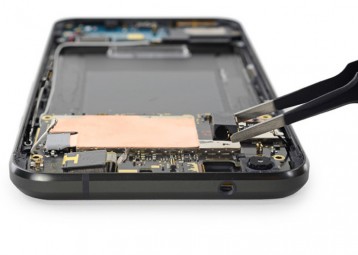
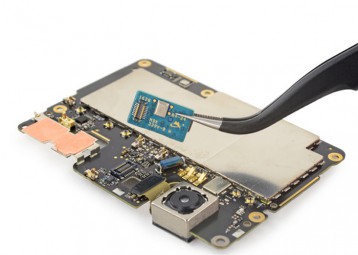
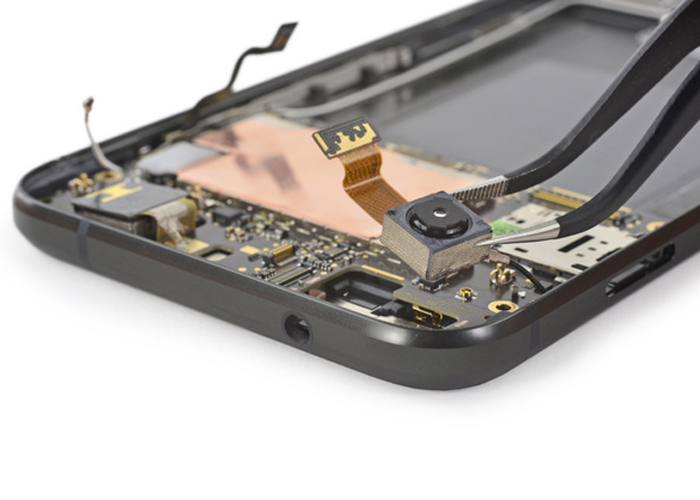 Now, take out the motherboard, be careful with the flex cable underneath.
 Here we got another small board comes with the microphone and rangefinder.
 We can remove the rear camera by the way.
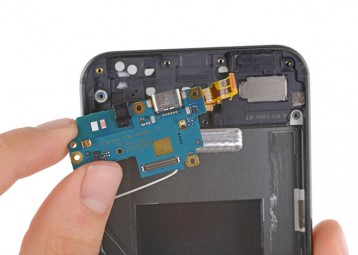
Step 4 Remove Charging Port Flex Cable
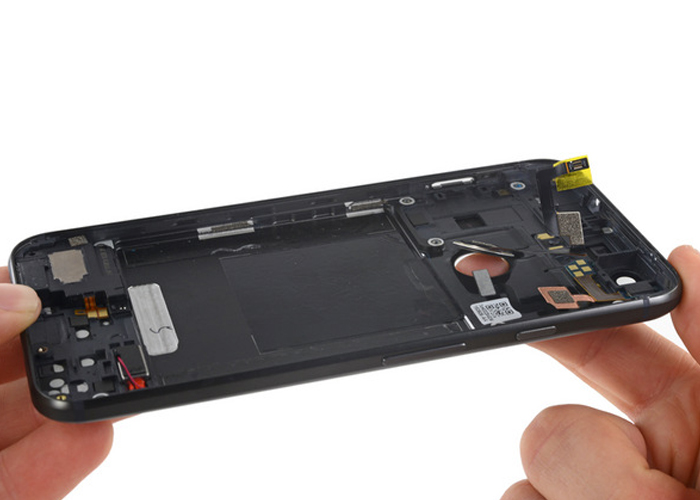
Moving to the bottom side of the rear housing, we now see the charging port flex cable, undo screws and then charging port cable assembly removed. Now just leave the fingerprint sensor flex cable to be released.
With your forefinger gently pushing, the fingerprint sensor flex is not difficult to take out.
Now just leave the fingerprint sensor flex cable to be released.
With your forefinger gently pushing, the fingerprint sensor flex is not difficult to take out.
 So this is the whole teardown for the Google Pixel XL, not so hard for us to tear it down, everything inside can be taken out smoothly once the screen was removed.
You may also like:
- 6 Google Pixel 2/Pixel 2 XL Common Issues and How to Fix
- How to Replace Google Pixel Screen, Battery, and Charging Port Flex Cable
- The latest four ways to unlock your cell phone
Summary
Reviewer
Craig
Review Date
Reviewed Item
Good article for me
Author Rating
|
|

|
|
|
|
|
|---|
Share:


RECOMMENDED PARTS
-
 For Apple iPhone X OLED Screen and Digitizer Assembly with Frame Replacement - Black - Grade S+
-
 For Apple iPhone 8 Plus LCD Screen and Digitizer Assembly with Frame Replacement - Black - Grade S+
-
 For Apple iPhone 7 Plus LCD Screen and Digitizer Assembly with Frame Replacement - Black - Grade S+
-
 For Apple iPhone 6S Plus LCD Screen and Digitizer Assembly with Frame Replacement - Black - Grade S+
 IOS 17.4 official version pushed to block battery vulnerability
  Is the Chinese-made rear case for the iPhone 15 series going on the market?
  New products coming:USB to MFI Lightning Cable
  Big BUG of iPhone 15
  Successfully submitted!