How To Replace An Oneplus One Cracked Screen
BY May | May 28th, 2015 | 2 | 1
The Oneplus One is the flagship of Chinese upstart Oneplus, whose main goal was to design a smartphone that kept a balance between high-end parts and low-end cost with “Never Settle”is the company slogan. However, whether it’s a high-end or low-cost device it can still get a cracked screen. And now, here’s a teardown as well as a screen replacement tutorial guide for the Oneplus One.
Tools Needed:
- Heat Gun/Hair Dryer
- Phillip Screwdrivers
- Spudger Tool
- Case Opening Tool
- Screen Suction Cup Tool
- Flat Head Tweezers
- Eject Pin
1. Power off the device.
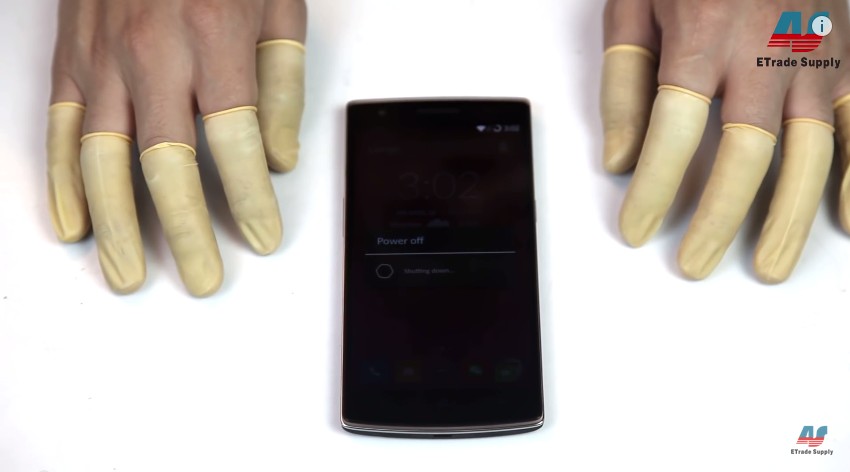
2. Remove the SIM card tray with an ejector pin.
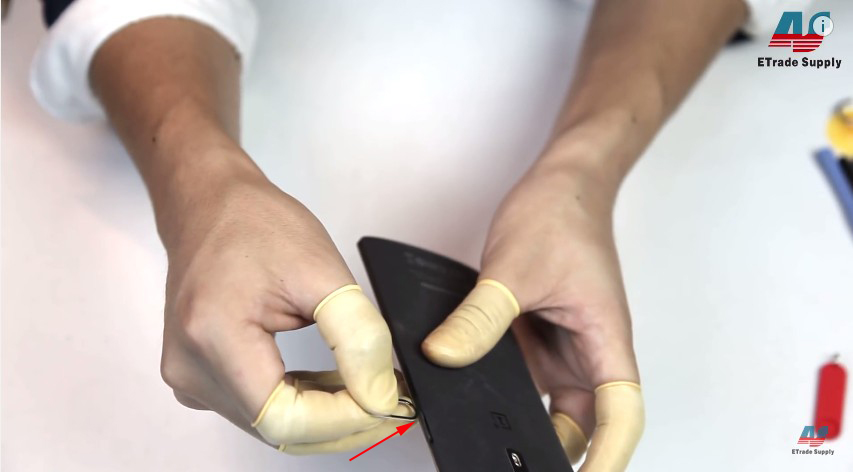
3. Pop the battery cover up with a screwdriver. Gently stick the screwdriver into the earphone jack and use it to pop up the back cover. Then use a case opening tool to run along the edge, and then you’ll be able to pull the battery door off by hand.
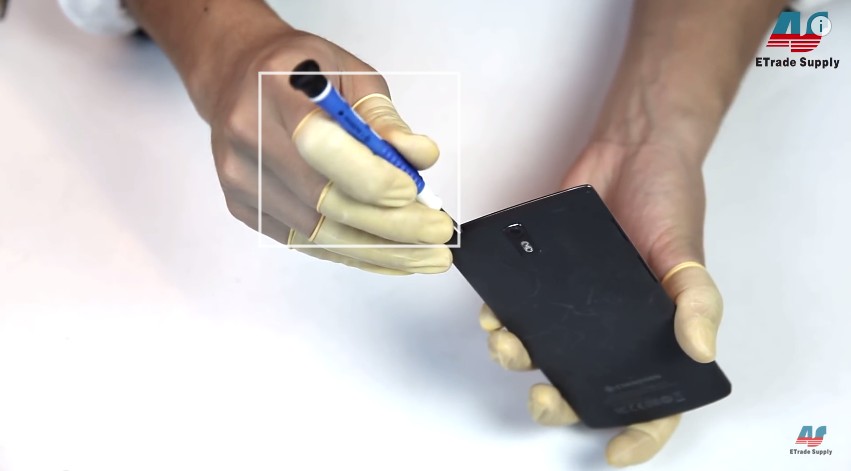
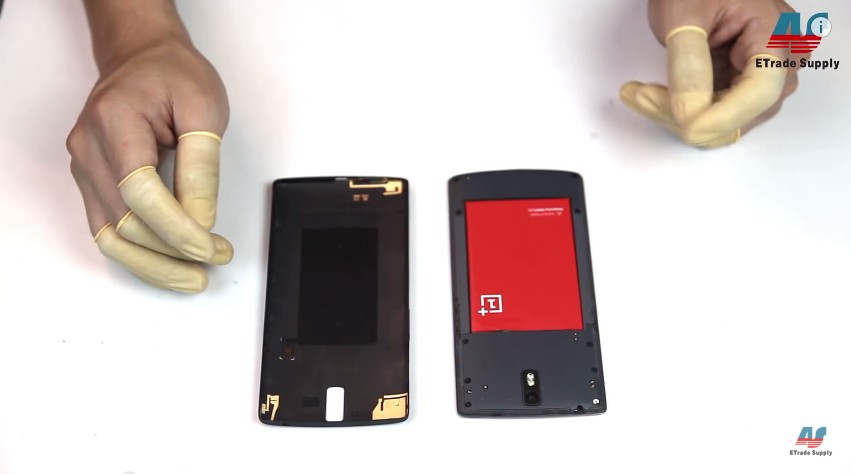
4. Remove the five rubber caps and then undo the 15 screws in the housing.
Notice: place the caps and screws separately as the two bottom ones are smaller.
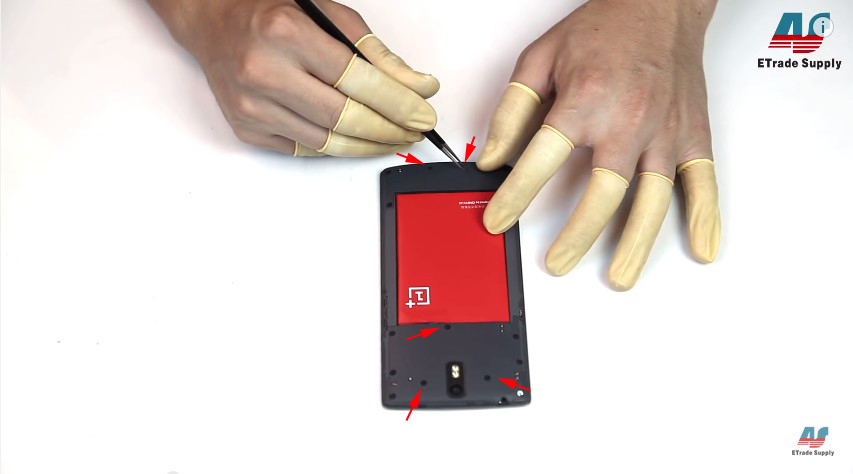
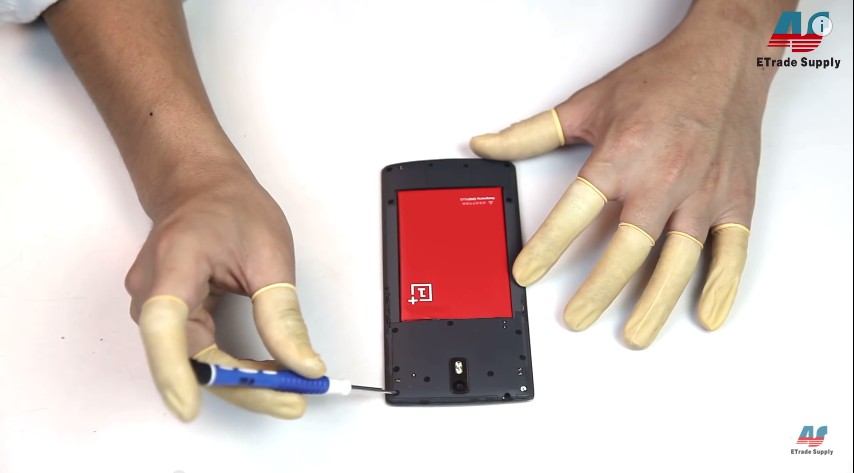
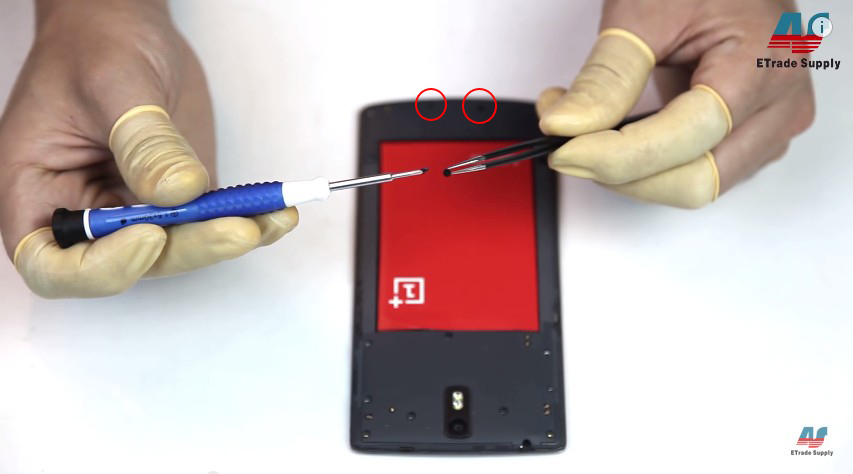
5. Lift up the rear housing by gently sliding the tweezers into the earphone jack and then pull the cover up.
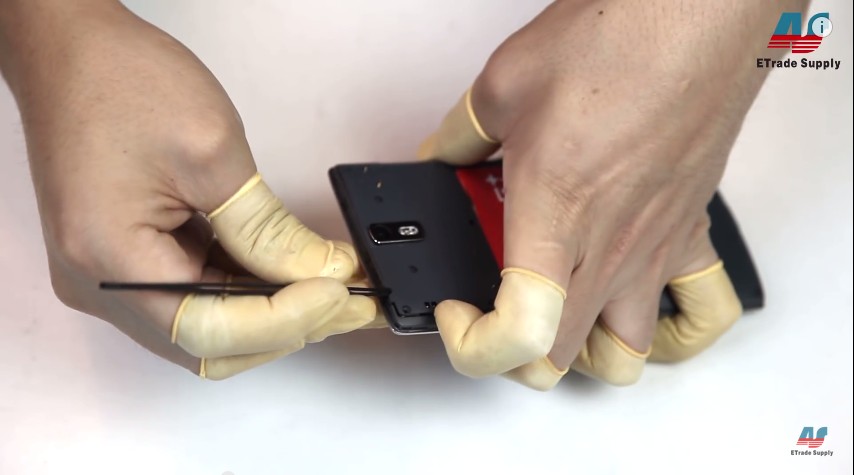
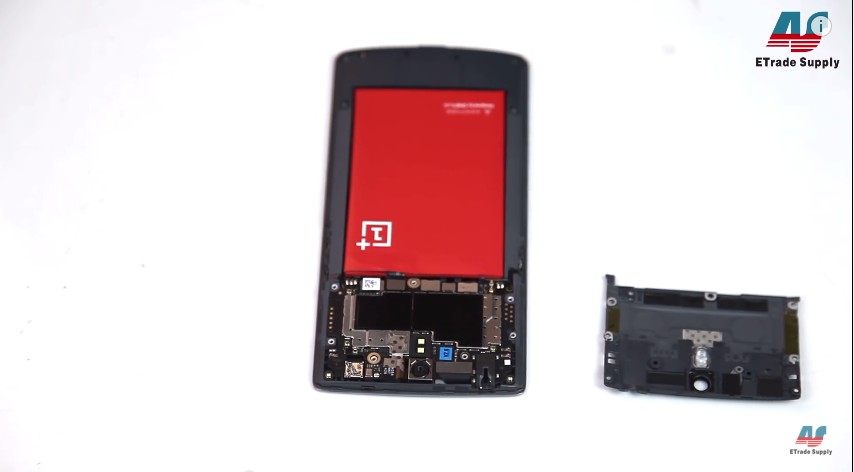
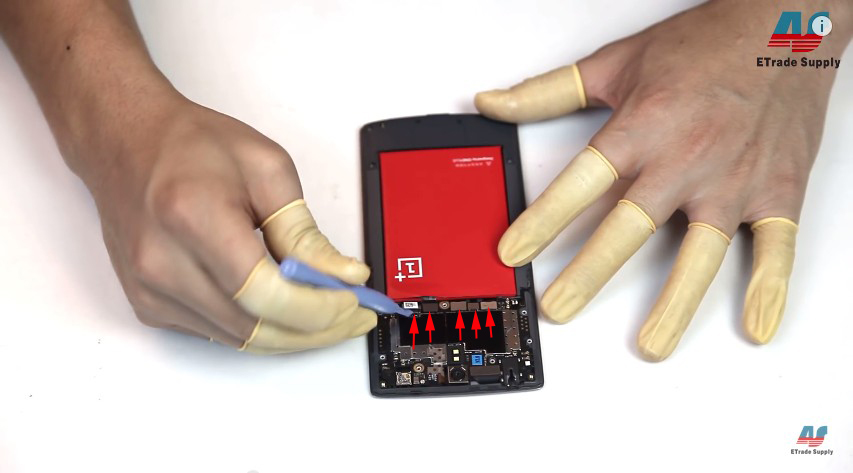
6. Pry up the 5 connectors.
7. Take your time to pry up the battery as it’s glued with strong adhesive and there are flex ribbons underneath.
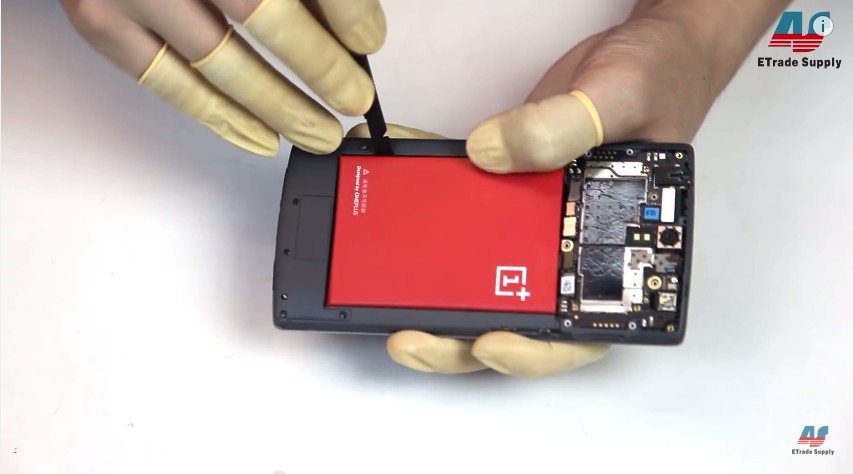
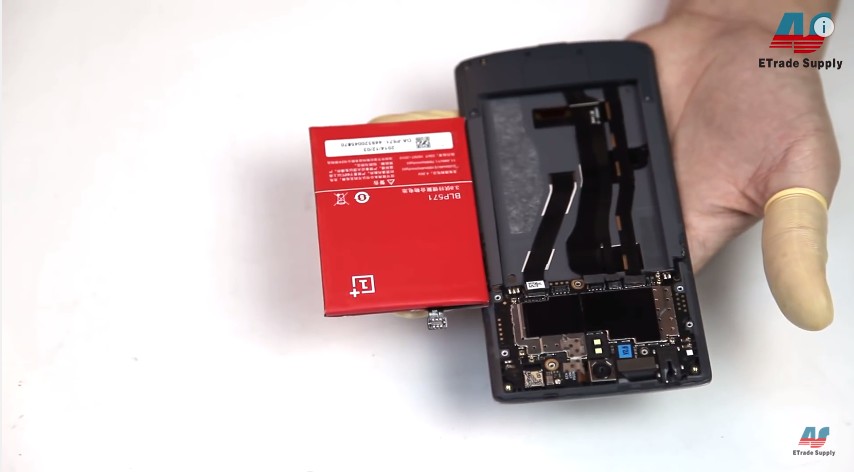
8. Pry up the LCD assembly flex connector and back facing camera connector. Gently pull out the back camera with tweezers as it adheres to the frame.
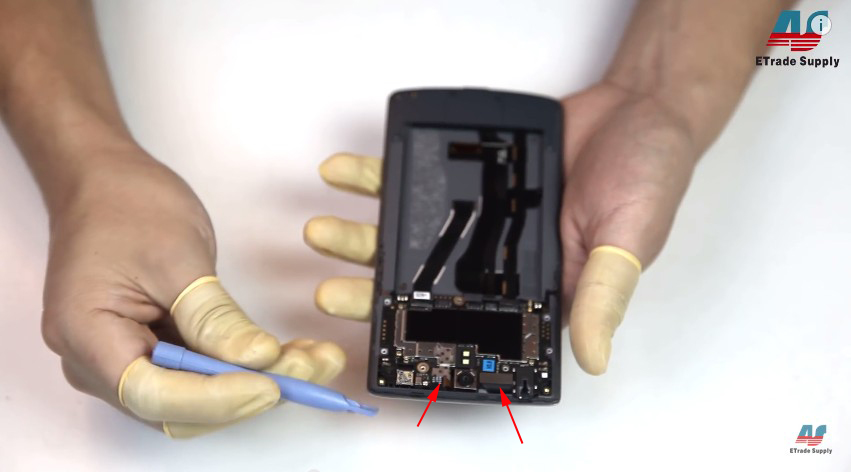
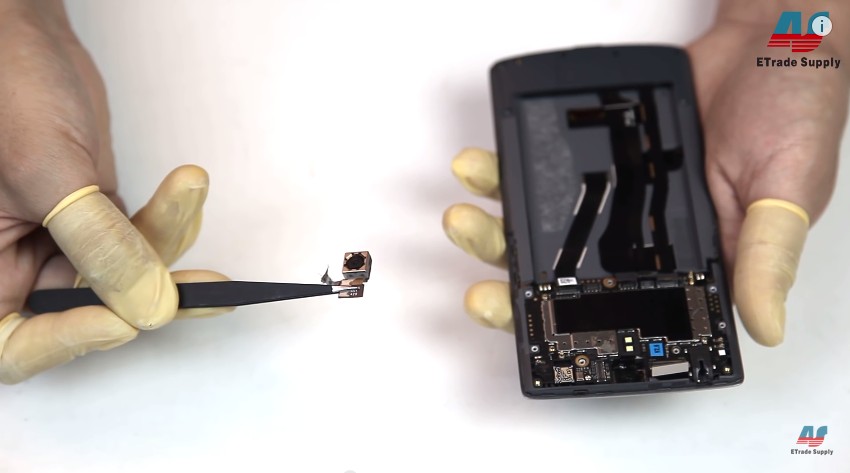
9. Remove the volume button flex and power button flex. Be careful there is one screw holding the power button flex, which is different from the earlier screws. Make sure not to mix them up.
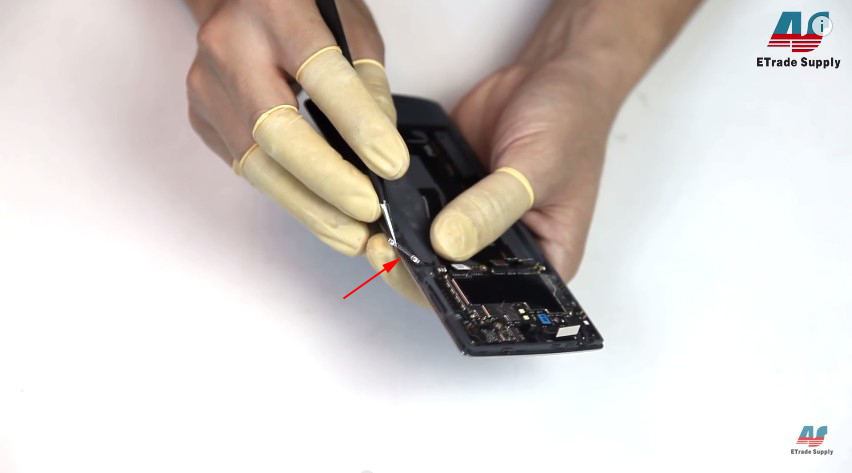
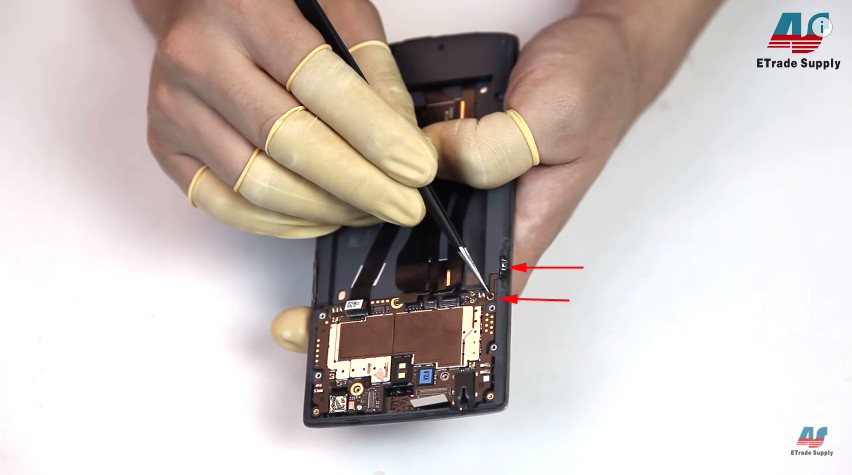
10. Pry up and turn over the main board, then disconnect the antenna cable to remove the board.
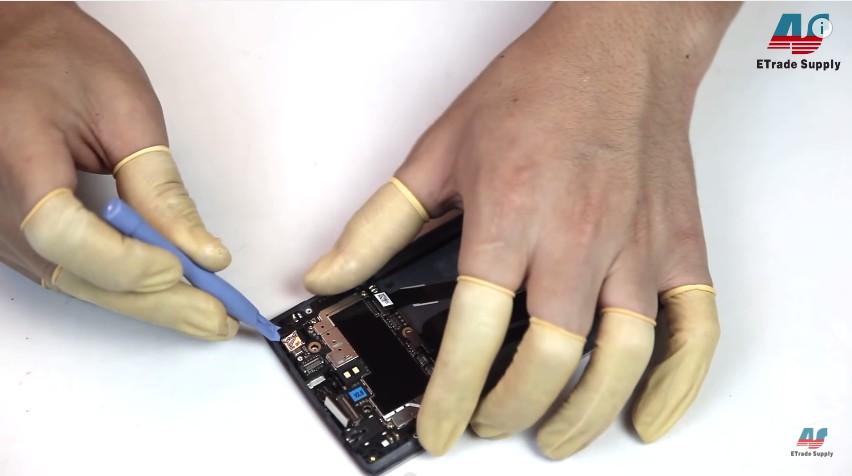
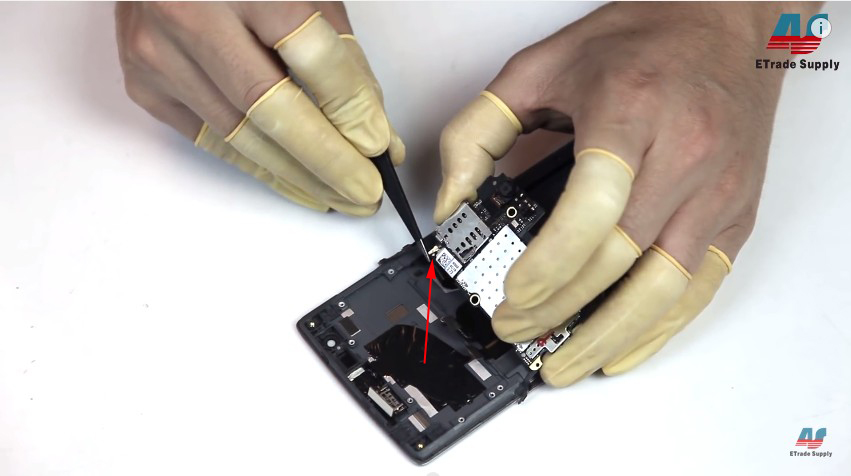
11. Remove the front-facing camera.
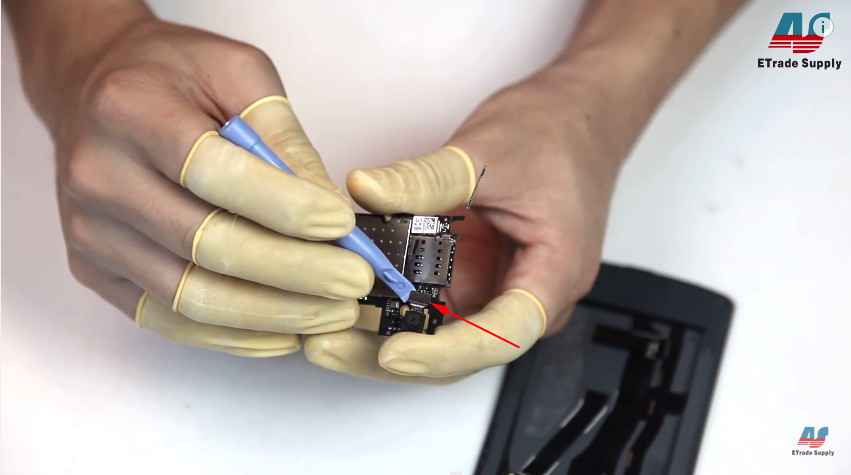
12. Remove the loudspeaker module.
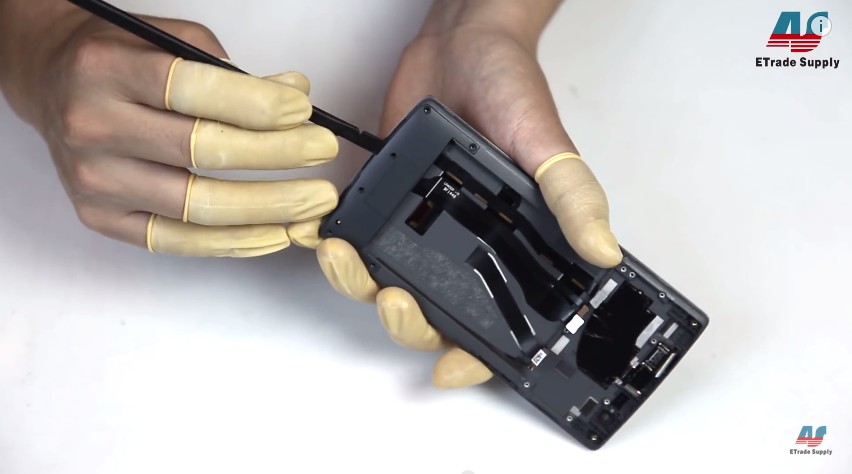
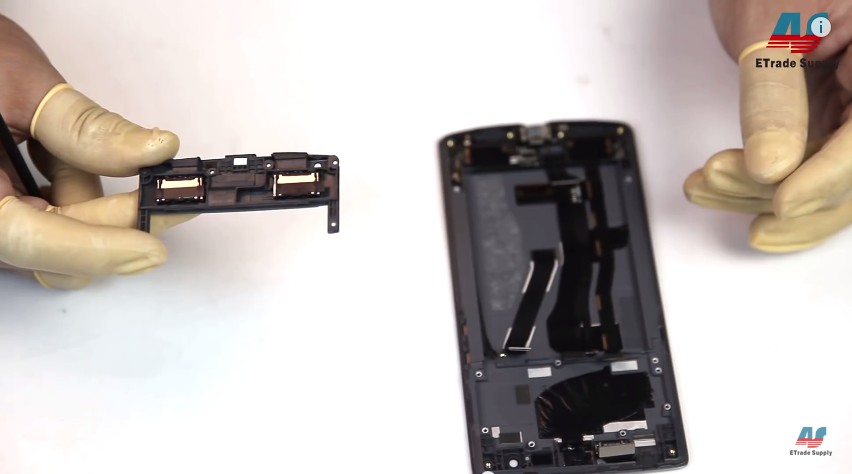
13. Remove the tape and connectors to release the charging port assembly.
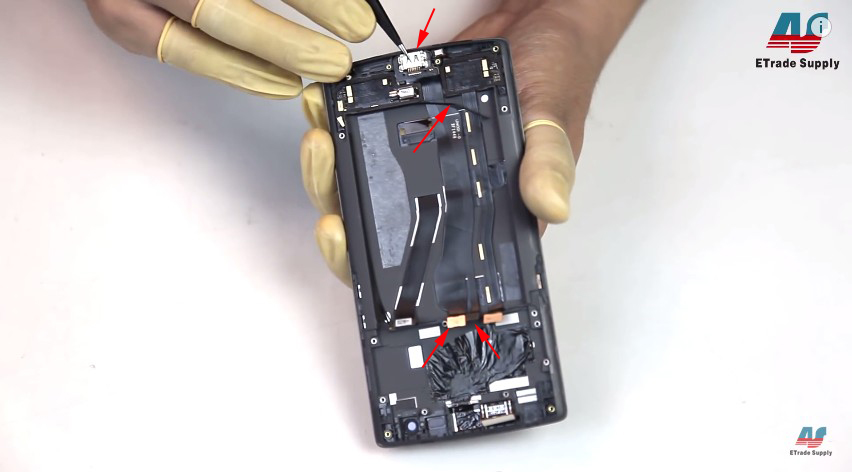
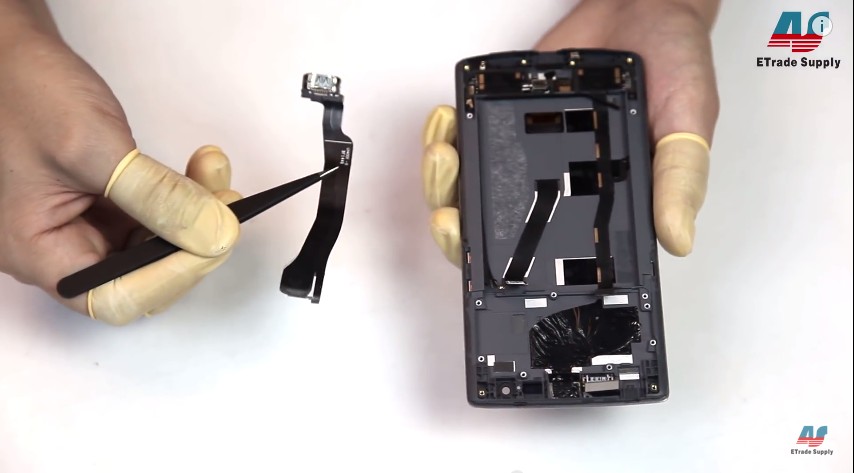
14. Pry up the 6 connectors as shown in the below pictures to release the Microphone flex.
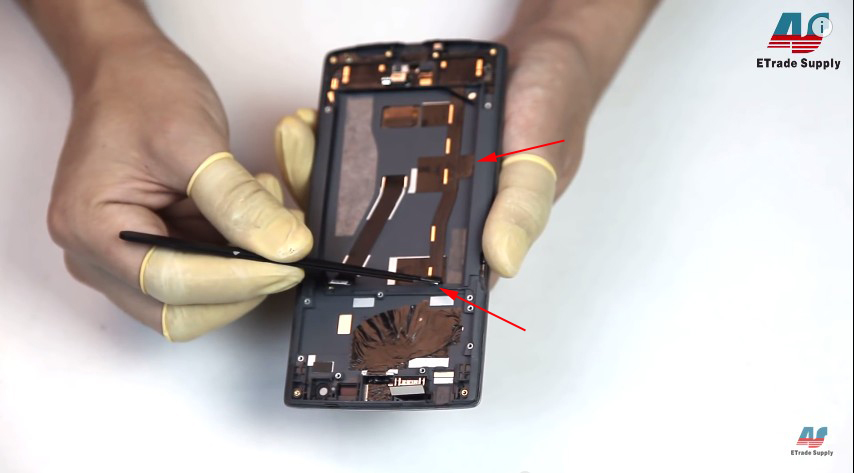
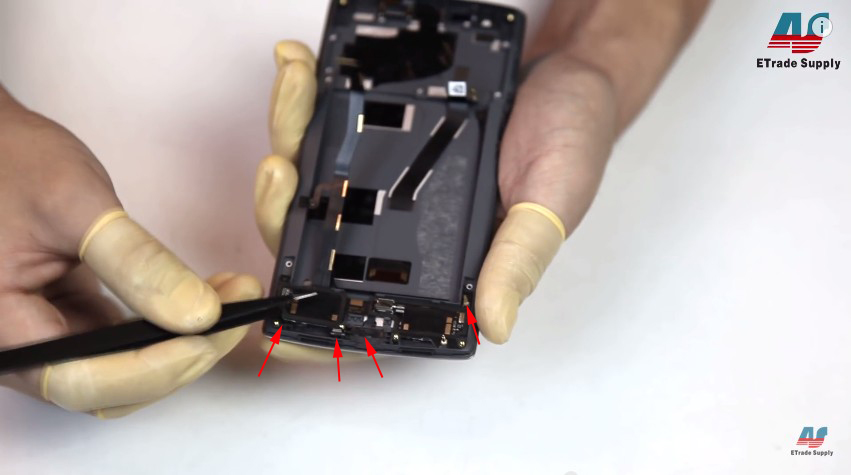
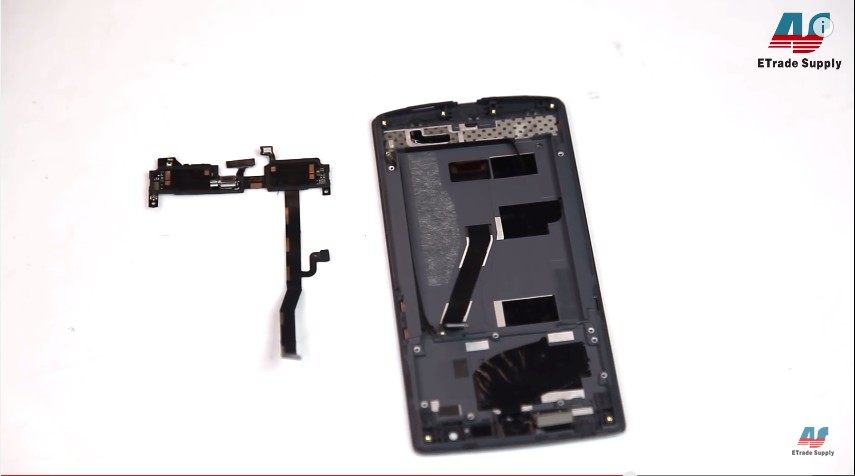
15. Pull up the tape that is protecting the antenna cable and remove the cable.
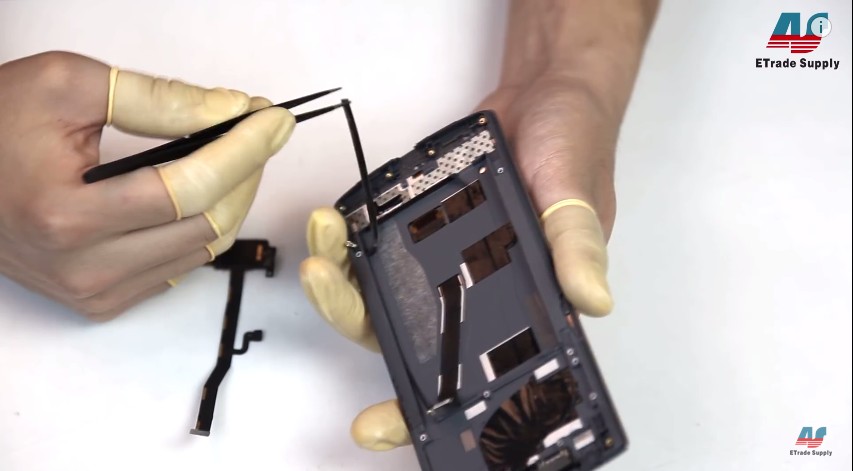
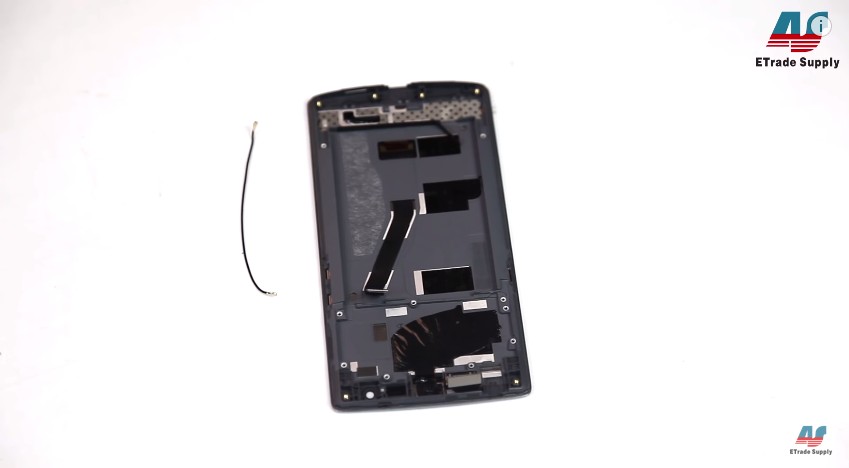
16. Remove the ear speaker.
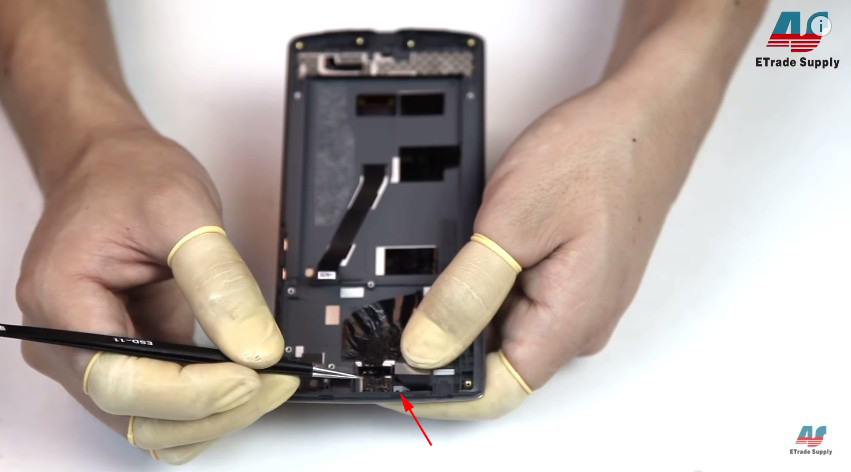
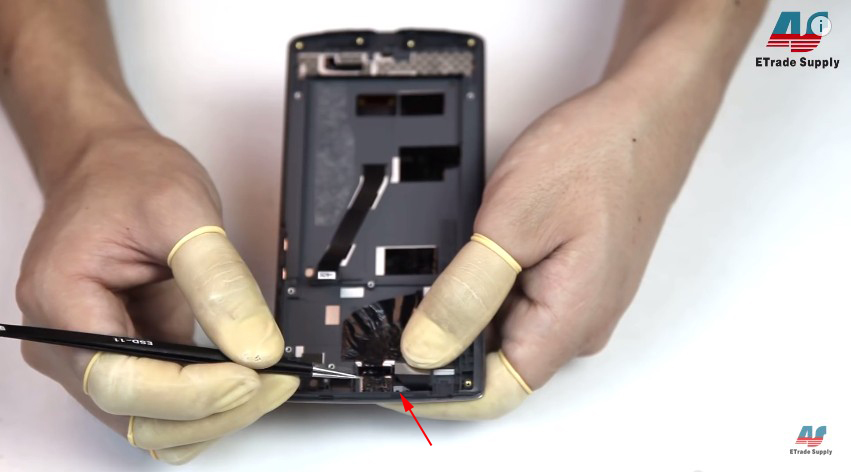
17. Pull out the plastic piece that is holding the LCD assembly flex in place.
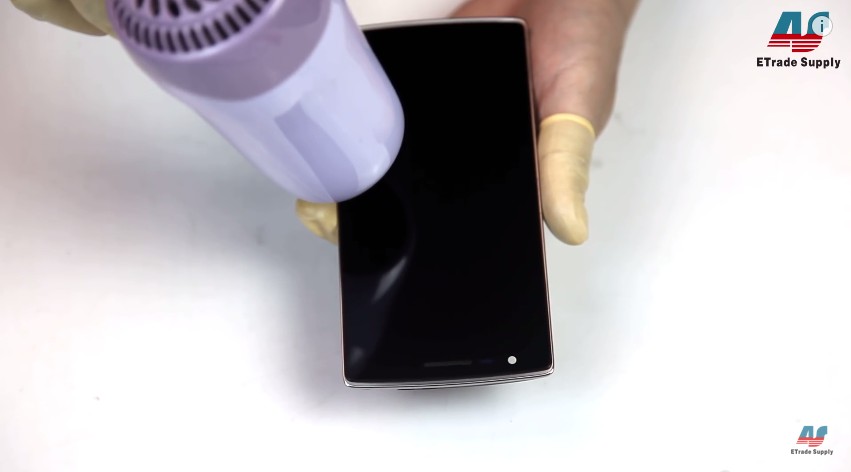
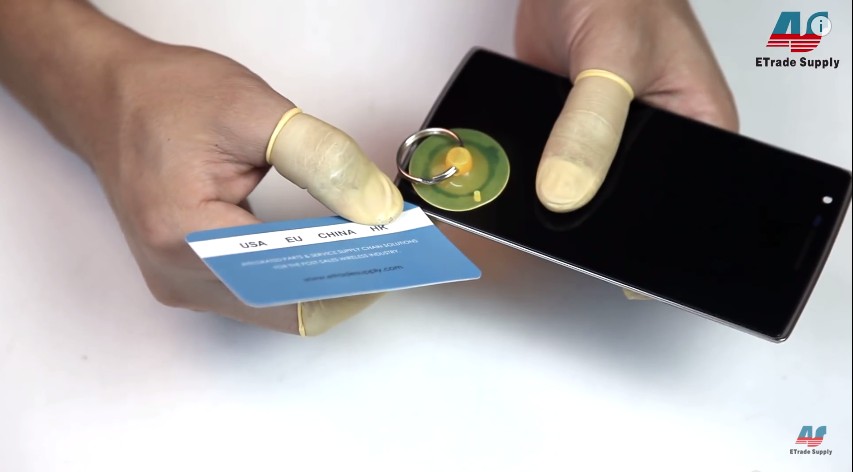
18. Heat up the LCD assembly for 1~2 minutes to soften the adhesive, gently pull up and insert a case opening tool or a business card between the gap to separate the LCD assembly from the front housing.
Notice: be extremely careful on this step.
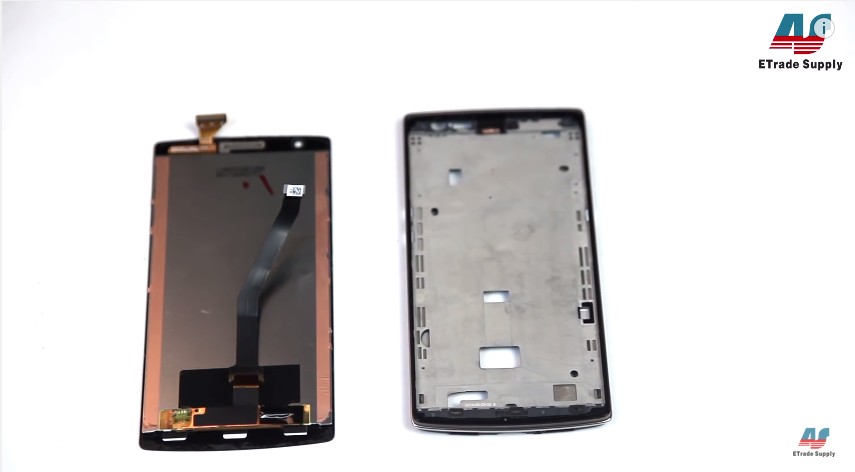
You’ve completely disassembled the phone, now replace the new Oneplus One LCD and Digitizer replacement in reverse orders.
We also have a video tutorial you can watch, please check it out below:
You may also like:
- OnePlus two screen repair
- replace OnePlus X broken screen
- OnePlus 3 quick teardown
- OnePlus one battery drains fast
|
|

|

|

|

|

|
|---|


 IOS 17.4 official version pushed to block battery vulnerability
  Is the Chinese-made rear case for the iPhone 15 series going on the market?
 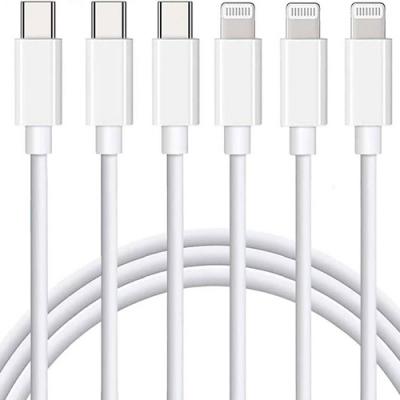 New products coming:USB to MFI Lightning Cable
  Big BUG of iPhone 15
  Successfully submitted!
That is very lovely but i did change my Oneplus one complete screen and when powering on, it display fine but after the phone has powered on,when typing a password the screen jumps also show like a TV without no channel finally the picture colour is not very good,the one that came with d phone was very ok before it got broken and i have test two new screen and is still the same please help.
Hi Sung, have ever checked the screen flex cable connector on the motherboard? clean it and reconnect to have a try.